
Get Instant Access
Enter your email to read the full resource and access all our free content.
By signing up, you'll also join our newsletter. We'll occasionally send you updates, tips, and other useful resources. You can unsubscribe any time.
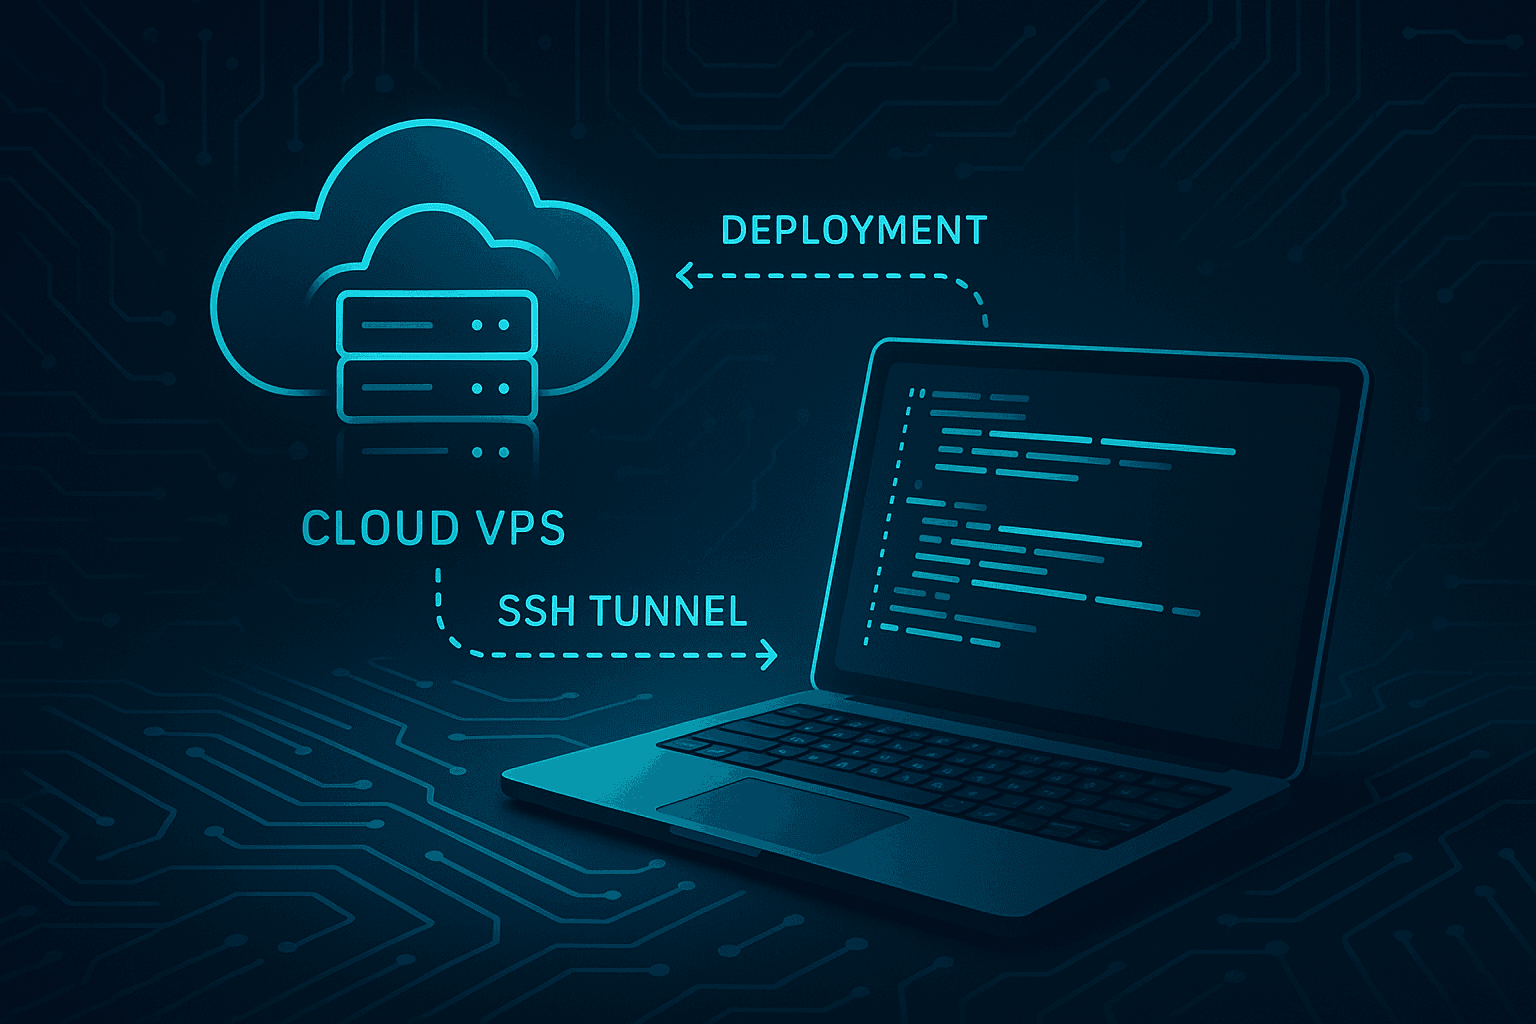
How to get Openclaw Set Up on a VPS using Claude Code
How to Use
- Create your VPS first (DigitalOcean/Linode: Ubuntu 24.04, 2GB RAM).
- Open Claude Code and paste this entire document.
- Replace
YOUR_SERVER_IPwith your actual IP andYOUR_USERNAMEwith your chosen username before running commands. - Follow phase by phase. At each STOP, do the user action, then say "Continue" or "Phase X complete."
Your Role
You are helping me set up OpenClaw on a VPS using Docker, with my Claude subscription (setup token) and Telegram. Execute the terminal commands in order. At each STOP, wait for me to complete the action and confirm before continuing.
Phase 1: User Prep (No Terminal Yet)
I will do these myself:
- Create a VPS at DigitalOcean or Linode: Ubuntu 24.04, 2GB RAM
- Note my server IP
- Note my root password (or I'll add my SSH key during creation)
- Have my Telegram bot token from @BotFather ready
When done, I'll tell you: "Phase 1 complete. My server IP is X.X.X.X"
Phase 2: Generate SSH Key (Run on My Mac)
Run these commands on my local Mac:
# Generate SSH key for the VPS (press Enter for defaults, or set a passphrase)
ssh-keygen -t ed25519 -C "openclaw-vps" -f ~/.ssh/openclaw_vps -N ""

# Display the public key so I can add it to the VPS if needed
cat ~/.ssh/openclaw_vps.pub
STOP — User action: If my VPS provider didn't let me add an SSH key during creation, I need to add this public key to the server. I'll copy it from the output above and add it via the provider's web console. Otherwise, skip.
When done, I'll say: "Continue"
Phase 3: Create User and Setup (Run from My Mac via SSH)
Replace YOUR_SERVER_IP with your actual IP and YOUR_USERNAME with your chosen username everywhere.
Step 3a — Run on server as root (all in one SSH call):
ssh root@YOUR_SERVER_IP "apt update && apt upgrade -y && adduser --disabled-password --gecos '' YOUR_USERNAME && usermod -aG sudo YOUR_USERNAME && mkdir -p /home/YOUR_USERNAME/.ssh && chmod 700 /home/YOUR_USERNAME/.ssh"
Note: adduser may prompt for password — if so, run the adduser part separately in an interactive SSH session.
Step 3b — Copy SSH key to your user (from Mac):
ssh-copy-id -i ~/.ssh/openclaw_vps.pub YOUR_USERNAME@YOUR_SERVER_IP
Step 3c — Fix ownership on server:
ssh root@YOUR_SERVER_IP "chown -R YOUR_USERNAME:YOUR_USERNAME /home/YOUR_USERNAME/.ssh"
Step 3d — Test login:
ssh -i ~/.ssh/openclaw_vps YOUR_USERNAME@YOUR_SERVER_IP "echo 'Login OK'"
STOP — User action: If adduser asked for a password interactively, I may need to run those commands in a manual SSH session. If Step 3d prints "Login OK", continue.
When done, I'll say: "Continue to Phase 4"
Phase 4: Harden SSH & Firewall (Run from Mac via SSH)
ssh -i ~/.ssh/openclaw_vps YOUR_USERNAME@YOUR_SERVER_IP 'sudo cp /etc/ssh/sshd_config /etc/ssh/sshd_config.bak && sudo sed -i "s/^#*PasswordAuthentication.*/PasswordAuthentication no/" /etc/ssh/sshd_config && sudo sed -i "s/^#*PermitRootLogin.*/PermitRootLogin no/" /etc/ssh/sshd_config && sudo sed -i "s/^#*PubkeyAuthentication.*/PubkeyAuthentication yes/" /etc/ssh/sshd_config && sudo systemctl restart sshd'
ssh -i ~/.ssh/openclaw_vps YOUR_USERNAME@YOUR_SERVER_IP 'sudo ufw default deny incoming && sudo ufw default allow outgoing && sudo ufw allow ssh && echo "y" | sudo ufw enable && sudo ufw status'
When done, I'll say: "Continue"
Phase 5: Install Docker (Run from Mac via SSH)
ssh -i ~/.ssh/openclaw_vps YOUR_USERNAME@YOUR_SERVER_IP 'sudo apt install -y apt-transport-https ca-certificates curl software-properties-common && curl -fsSL https://download.docker.com/linux/ubuntu/gpg | sudo gpg --dearmor -o /usr/share/keyrings/docker-archive-keyring.gpg && echo "deb [arch=$(dpkg --print-architecture) signed-by=/usr/share/keyrings/docker-archive-keyring.gpg] https://download.docker.com/linux/ubuntu $(lsb_release -cs) stable" | sudo tee /etc/apt/sources.list.d/docker.list > /dev/null && sudo apt update && sudo apt install -y docker-ce docker-ce-cli containerd.io docker-compose-plugin && sudo usermod -aG docker YOUR_USERNAME'
ssh -i ~/.ssh/openclaw_vps YOUR_USERNAME@YOUR_SERVER_IP 'docker --version && docker compose version'
When done, I'll say: "Continue"
Phase 6: Clone OpenClaw and Create Workspace (Run from Mac via SSH)
ssh -i ~/.ssh/openclaw_vps YOUR_USERNAME@YOUR_SERVER_IP 'cd ~ && git clone https://github.com/phioranex/openclaw-docker.git && mkdir -p ~/openclaw-workspace && chmod 700 ~/openclaw-workspace'
When done, I'll say: "Continue"
Phase 7: Run Onboarding Wizard (Interactive — User Runs This)
STOP — User action: I must run this myself in a terminal because it's interactive. Open a terminal and run:
ssh -i ~/.ssh/openclaw_vps -t YOUR_USERNAME@YOUR_SERVER_IP 'cd ~/openclaw-docker && docker compose run --rm openclaw-cli onboard'
I will answer:
- Provider: Anthropic (use temporary API key if required, we'll replace with setup token in Phase 9)
- Gateway: 127.0.0.1, port 18789, generate and save gateway token
- Channels: Enable Telegram, enter my bot token
- Agent: Choose a name, workspace /workspace
- DM policy: pairing
When onboarding finishes, I'll say: "Onboarding complete."
Phase 8: Start Gateway and Enable on Boot (Run from Mac via SSH)
ssh -i ~/.ssh/openclaw_vps YOUR_USERNAME@YOUR_SERVER_IP 'cd ~/openclaw-docker && docker compose up -d openclaw-gateway && sudo systemctl enable docker'
When done, I'll say: "Continue"
Phase 9: Setup Token (Two Steps)
Step 9a — User action: On my Mac, run claude setup-token, complete the browser flow, and copy the token.
Step 9b — Run this (I will paste the token when prompted). Use -t for interactive:
ssh -i ~/.ssh/openclaw_vps -t YOUR_USERNAME@YOUR_SERVER_IP 'cd ~/openclaw-docker && docker compose exec openclaw-cli openclaw models auth paste-token --provider anthropic'
User: Run this in your terminal so you can paste the token when prompted.
When done, I'll say: "Continue"
Phase 10: Create Tunnel Script on My Mac
Run on my Mac. Set SERVER_IP to my actual IP:
SERVER_IP=YOUR_SERVER_IP  # Replace with actual IP
cat > ~/openclaw-tunnel.sh << EOF
#!/bin/bash
echo "Starting secure tunnel to OpenClaw..."
echo "Dashboard: http://localhost:18789"
echo "Press Ctrl+C to disconnect"
ssh -i ~/.ssh/openclaw_vps -N -L 18789:127.0.0.1:18789 YOUR_USERNAME@${SERVER_IP}
EOF
chmod +x ~/openclaw-tunnel.sh
When done, I'll say: "Setup complete"
Done
To access OpenClaw: run ~/openclaw-tunnel.sh on my Mac, then open http://localhost:18789. Use my gateway token. Pair my Telegram device in the dashboard, then send the security/best-practice prompts from the main guide to my bot.
Ready to build your MCP App?
Book a strategy call with our team to understand what ChatGPT & Claude Apps can mean for your business